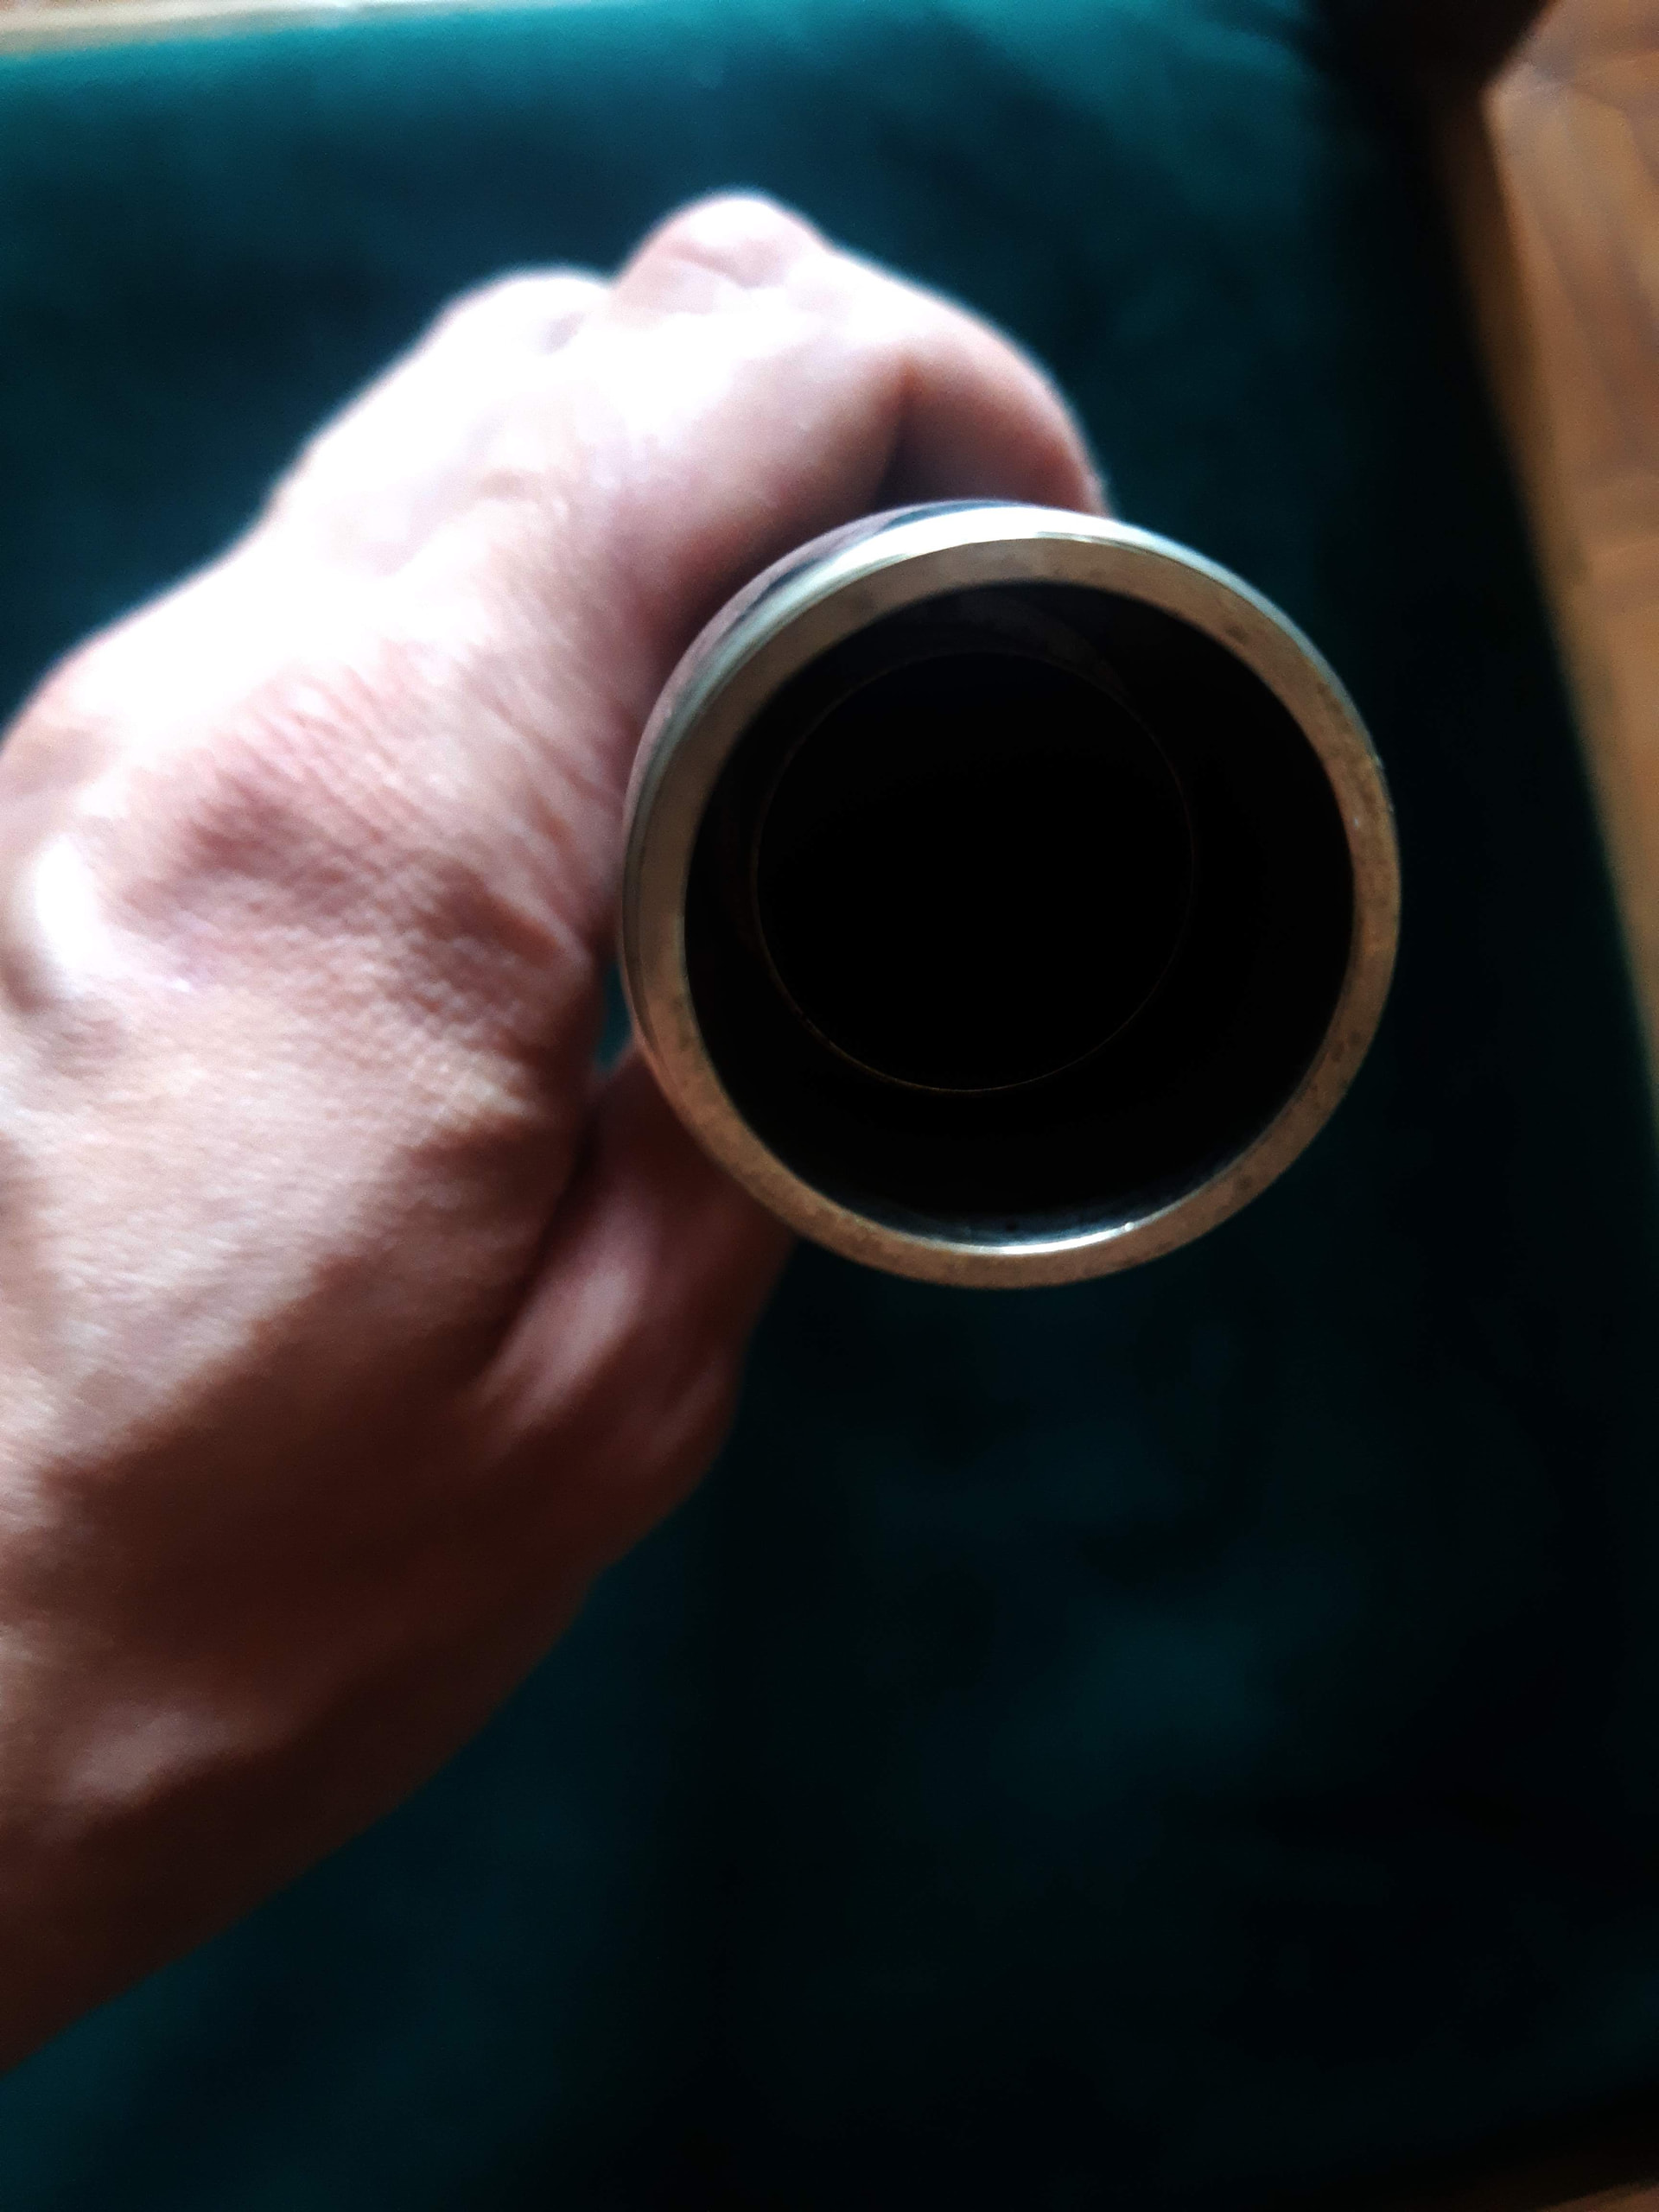
Lined headjoint repair

Hi everyone!

Here again with my antique Margueritat flute. I changed the two damaged spings, now the bottom keys work well. I changed tenon corks, nice. I changed almost all key pads (I can’t place well enough the D# one, so for now the hole is tape covered…), almost nice.

Now, when I bought it, it had two cracks on the partially lined headjoint. I repaired the cracks (well, I though I did) with wood glue, and what should happen, happened a few days ago : the crack opened further. I know that if I glue them again, it will open again and so on…

So, I feel like to save my flute I have two options :

  • Make a new head using Delrin. I have a metal lathe, I have tools, so it’s a possibility.
  • Remove the liner and ream the headjoint a little bit.

I think I will end up trying both options. But I need help regarding the second one. My question is quite simple : how do I remove the liner?

Thanks!

Ordinary woodglue won’t do the job. A mix of superglue and ebony dust will do better. Additional stitches may be needed to reinforce the cracks.

1 Like

Blabob

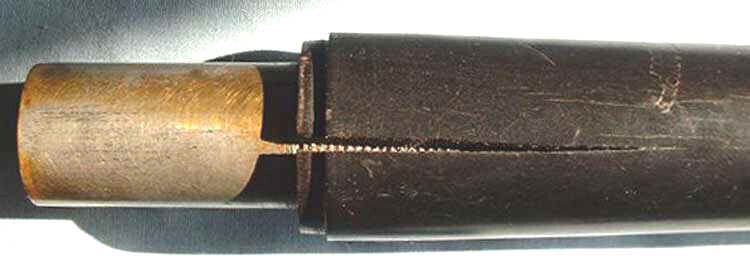
So, we’re talking a French flute. With partial slide. With cracks. So I’m imagining something like this…

If so, we are seeing the wood, having shrunk and cracked, is still pinning the slide in place. Do you think that is the situation here?

I’m thinking that you may need to hydrate the head so it swells and thus releases it’s death grip on the slide. Hydrate the head, the wood swells, you pull the slide out, let the head acclimatise back to normal, glue the cracks closed, ream or sand the bore back out to accept the slide back without stress, then glue it back in. That is your thinking? If so, we can talk about ways to hydrate the head…

Sigh. Climate change is going to stress old and even more recent flutes harder. Stand by for an avalanche of head and barrel cracks! This could be dramatic…

I’m afraid you may be right, but the crack haven’t just reopen, it has expanded so I guess if I glued it with superglue, it might have crack at other places…

It’s not exactly like that. The crack isn’t as bad and the tuning slide is a little different. Here are two photos for you to have a better view of the situation

That flute looks to have both a lined socket and a French style tuning slide, where the inner slide either extends partially into the head, or fully. If the latter, you will be able to see metal through the embouchure hole.

To fix the crack properly you’ll have to remove both the socket lining and the inner slide/head lining. Both will require heat, and probably a lot of it, to soften the glue (likely some kind of shellac or hide glue). But the main challenge is going to be how to get a grip on the inner slide when it is hot.

You may need to make some kind of expanding mandrel out of a material that will withstand a great amount of heat. And you’ll probably want to heat it too, otherwise it will cool the slide too much to melt the glue. These kinds of jobs often end up requiring a great degree of brutality, which is best done out of sight of the flutes owner! But they usually work.

Once the liners are removed, clean up and thoroughly dry the wooden part, then glue the cracks, using powdered blackwood and superglue. Then ream both the socket and the receiving hole in the wood for the liner until they fit with now pressure.

When you glue the socket liner and the head liner back in, I would recommend using something like GFlex, which is a flexible epoxy that is also releasable with heat, and hence repairable in the future. But be very careful not to get the new glue on the parts of the tuning slide that you want to move freely.

It can help to coat the parts that don’t want glue with vaseline, and then remove any excess glue before it has fully cured, but after it has ceased to be liquid. That way it doesn’t spread.

Also, fit and clean up the socket liner before you fit and clean up the head liner. Cleaning the excess glue is easier this way. And with the head liner, put the glue in the hole, not on the liner, so the excess squeezes out in a location that allows it to be removed (through the head bore, using a flute cleaning wand with paper towel etc).

Its a tricky job, but it looks like this is a parabolic head (i.e. with a tapered bore) so making a new head would require you to profile the head and make a suitable reamer, which would be very time consuming.

The other strategy, which is much lower cost in terms of effort, but also less of a long term repair, is to simply fill the crack and rely on the existing liners to prevent any leaks. To do this, dry the flute instead of hydrating it, so the crack opens. If then fill the crack with a mix of superglue and blackwood dust. This will have the effect of reducing the pressure on the liners, since you have actually increased the circumference of the wooden head where it passes around the inserted metal parts this way.

If the flute doesn’t leak after doing this, you may be good to go, because the rest of the head may not crack due to the fact that it doesn’t have any metal inside it (here, I’m assuming a partially lined head, which is usually the case).

So, if you do this its simply a matter of filling (not just gluing) the crack and tidying up the exterior. But it has to be done with the flute in its driest state if you want to avoid subsequent opening of the crack.

The crack may have opened on you because you have the flute in a drier environment than it is used to. Keep it humidified.
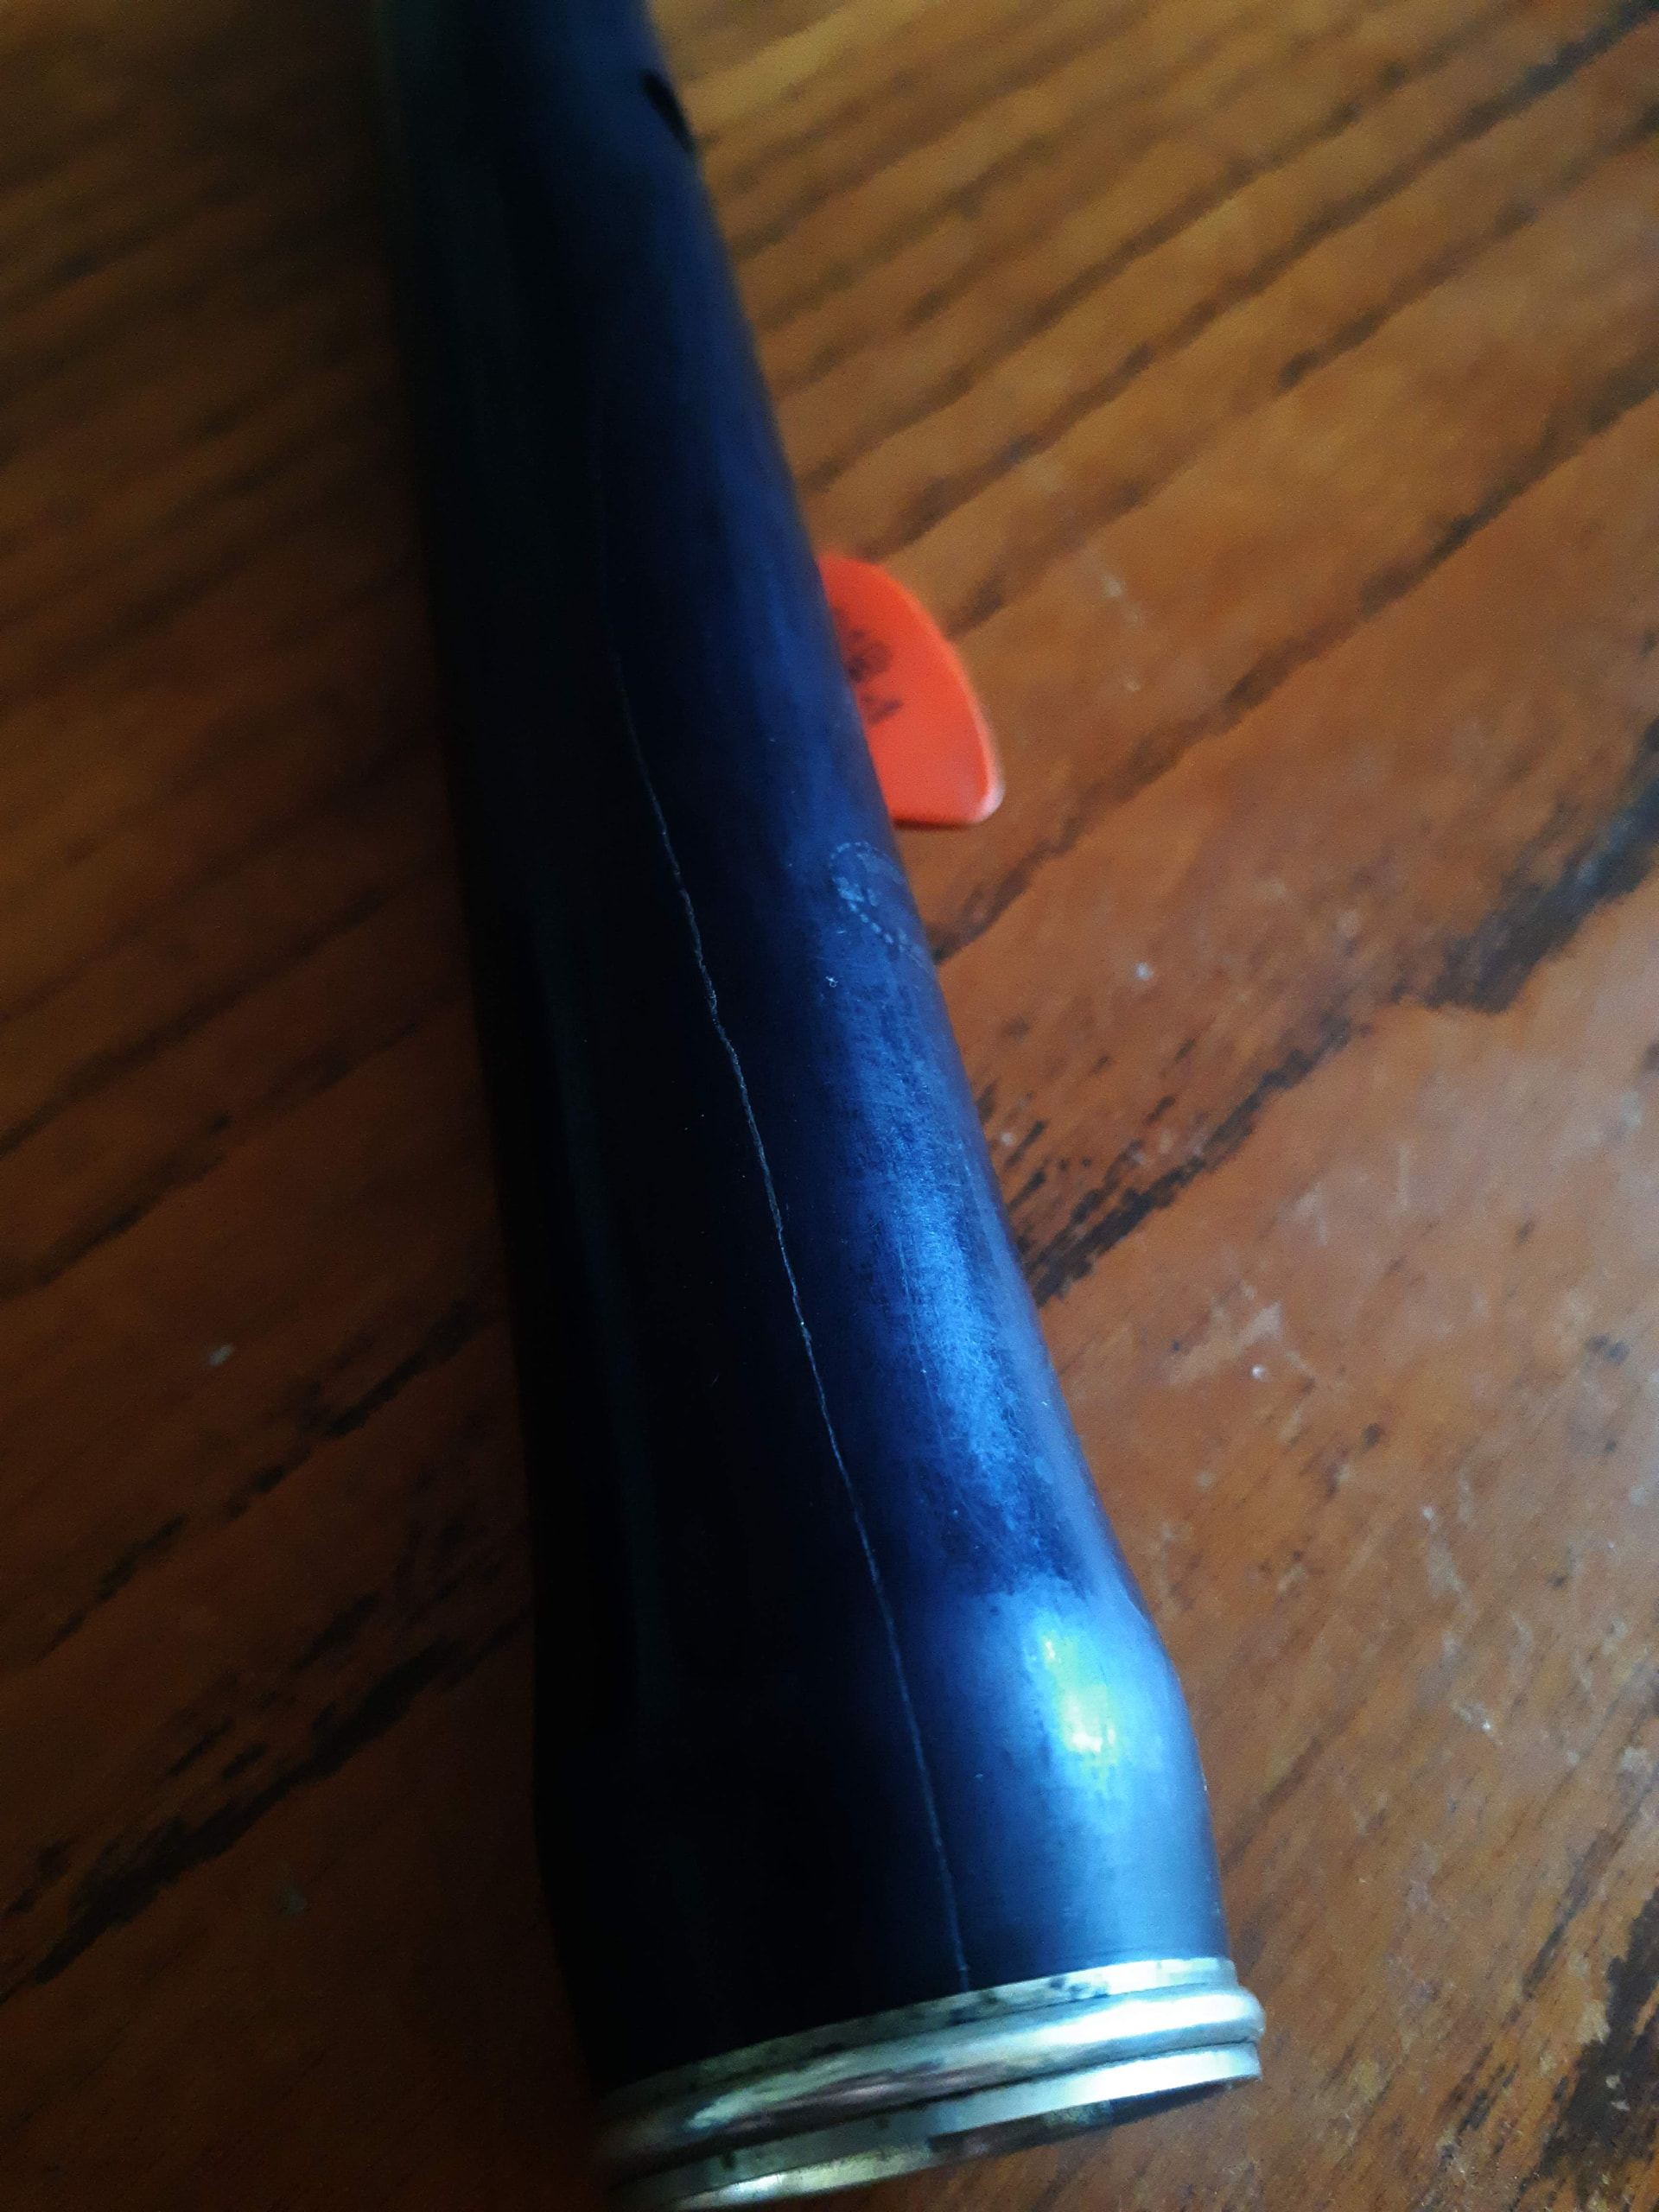
Thank you very much for your very detailed answer! The crack started to reopen after a day of long playing (longer than usual).

The inner slide only partially into the head.

That seems scary to do ahah. What would you suggest to heat the metal without burning or damaging the wood? I guess an hairdryer wouldn’t do the job?

The head isn’t tapered. The inner diameter is the same at both sides.

I’m skeptical about your other strategy because the crack already passed over the liner (I don’t know if I say it well…), there’s already a leak. And I’m afraid that it ends up reaching the embouchure if I dry it…

A hair dryer likely won’t get it hot enough, but its worth a try. Most of the time I use a heat gun for this kind of job. It sounds drastic and scary, and it is, but often it takes an intense amount of heat to melt the glue and loosen things up. And that heat dissipates quickly, so you may have to keep reapplying it. The key is to direct the air from the heat gun through the inside of the head liner, from the metal end, and not to heat the wood of the flute’s head from the outside.

The wood is surprisingly forgiving when heated, but you don’t want to actually set it on fire (obviously). You may have to come close though. Normally what happens is that the finish, which is likely some kind of shellac or French polish, will bubble up with the heat. But that is easy to refinish in an invisible way.

Another technique is to find a metal rod that will fit inside the head liner, and to heat the metal rod before inserting it into the liner, letting it transfer its heat to the liner. This works well too if you can find something the right size. But the factor that makes both approaches work is the fact that the metal liner conducts heat faster than the wood surrounding it, so as long as you can direct the heat primarily onto (or through) the liner, it will get hot quicker than the surrounding wood.

None of this is for the faint of heart though.