Axianof 3D printed Irish Flute geometry

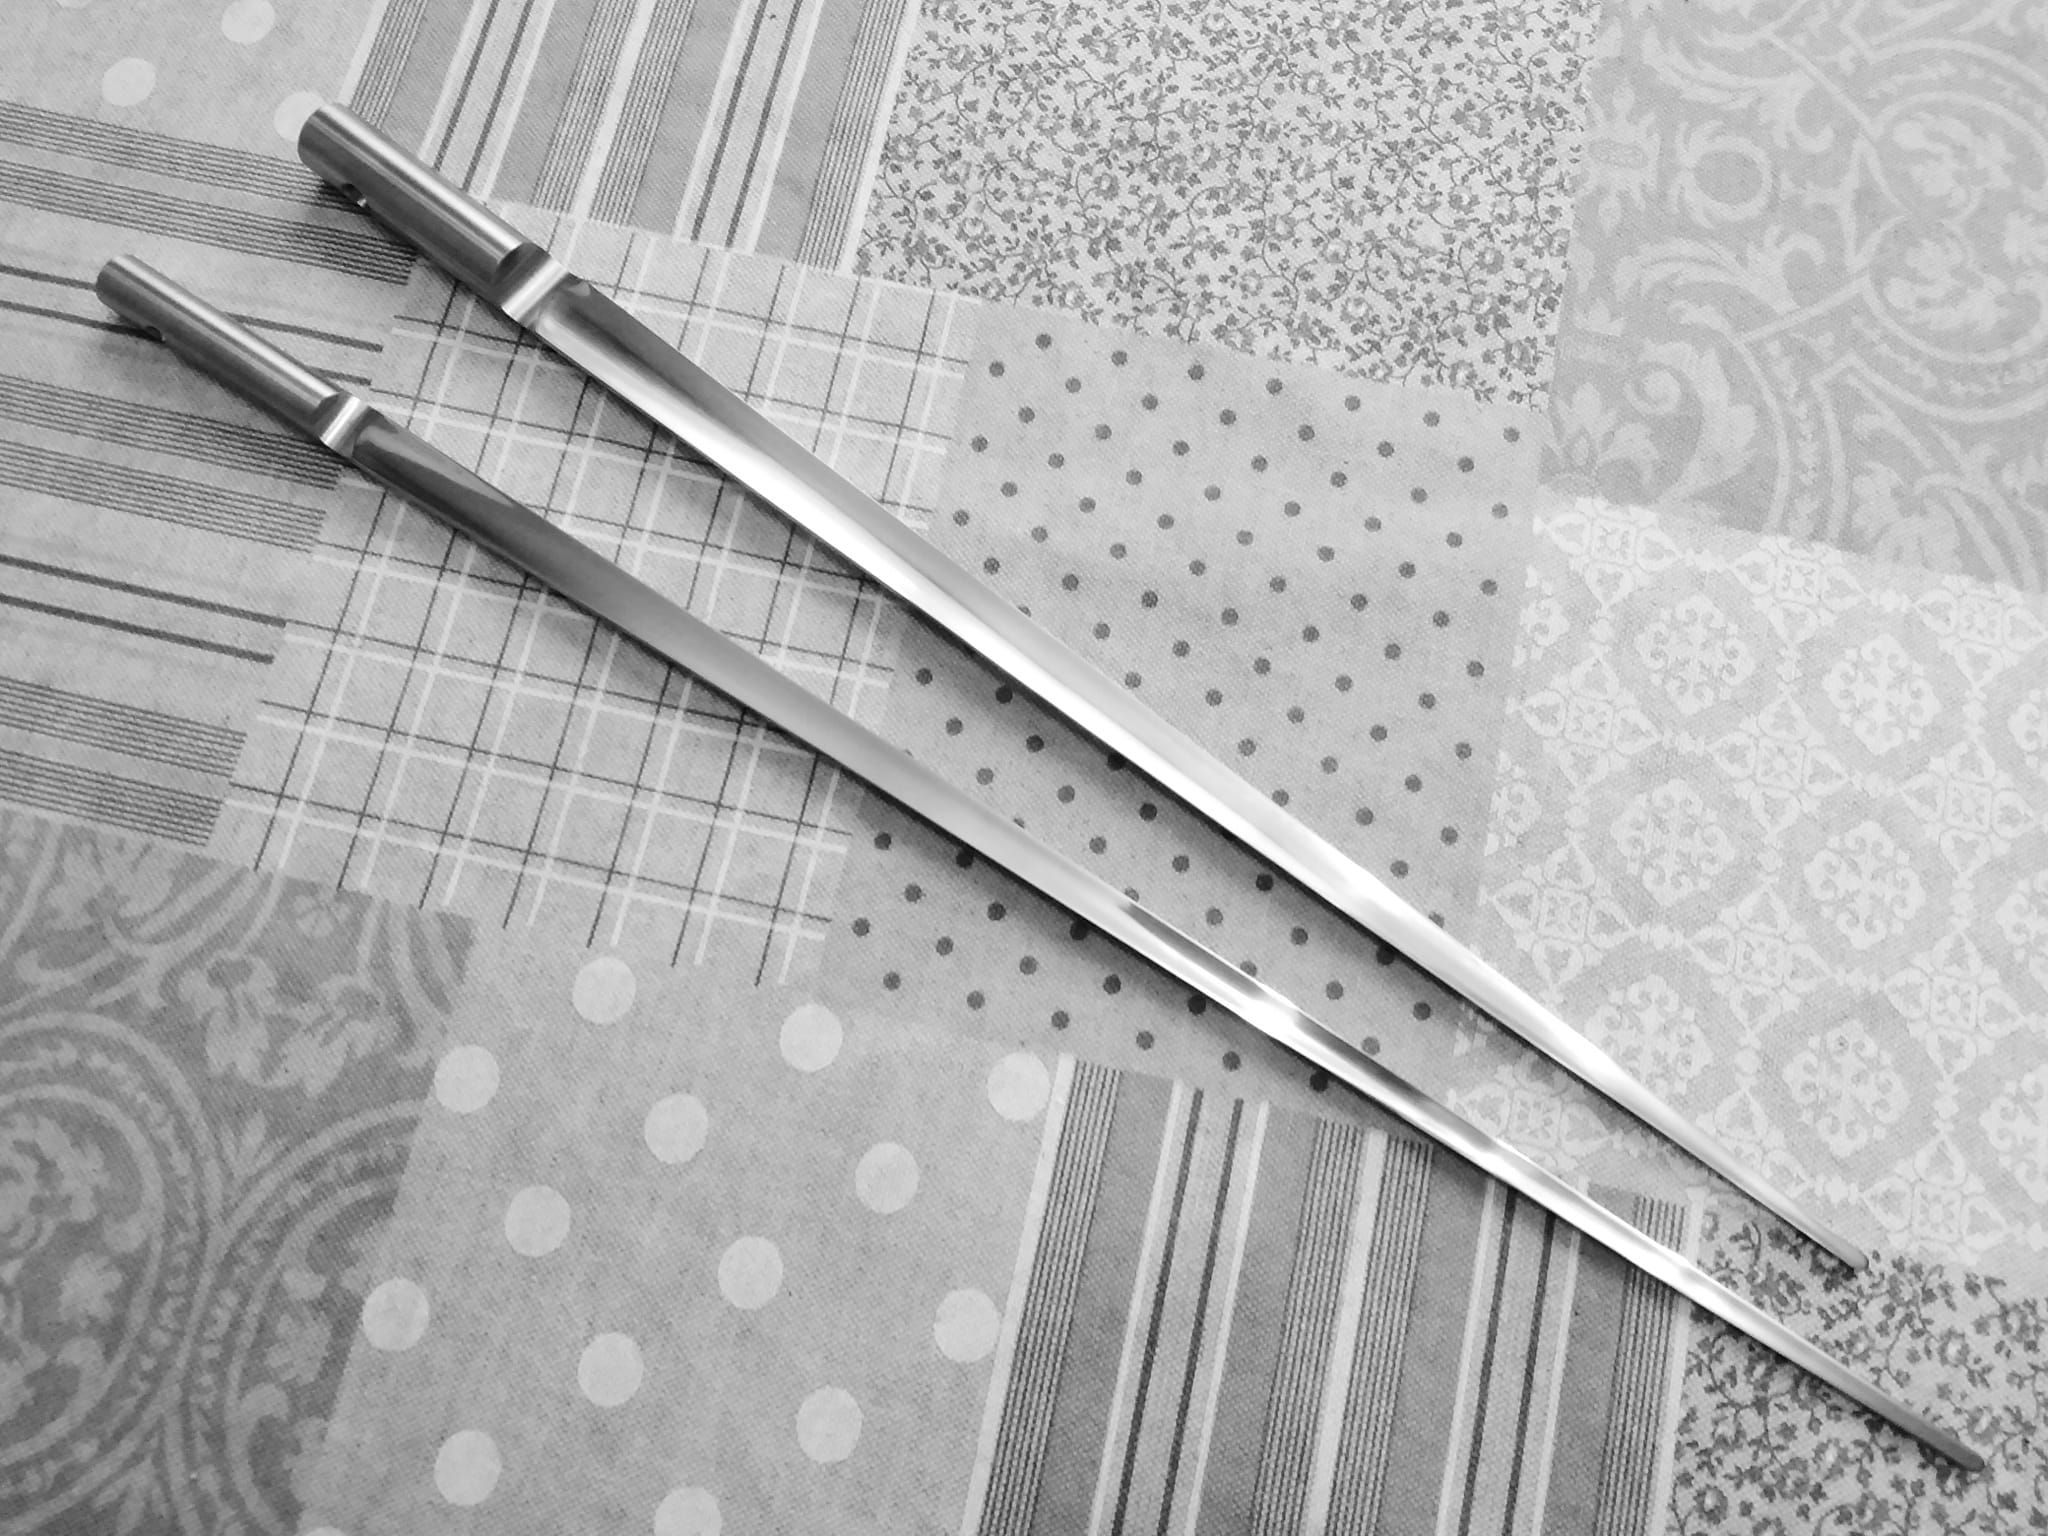
The surface left by a reamer depends on the wood (or other material) as well as the reamer. I have good reamers that leave a very smooth bore when I use certain woods but not necessarily with other woods. And I experiment with a variety of ways to treat and stabilize different woods, all of which can make great flutes. You just have to adapt your tooling and approaches based on the materials you are using. Either that or restrict yourself to the few materials that your one and only tool/technique works with.

But most flute makers not only use reamers but then polish the bore too, using various abrasives (which do remove material, albeit ideally a very small amount). Materials like ebonite can be especially tricky to get a mirror bore directly from a reamer.

So, yes, in an idea world the bore is left smooth and glassy by the reamer, and a 3D printed flute comes out of the printing stage with a mirror bore. But we don’t live in a perfect world, and yet can still make good instruments, with a little ingenuity.

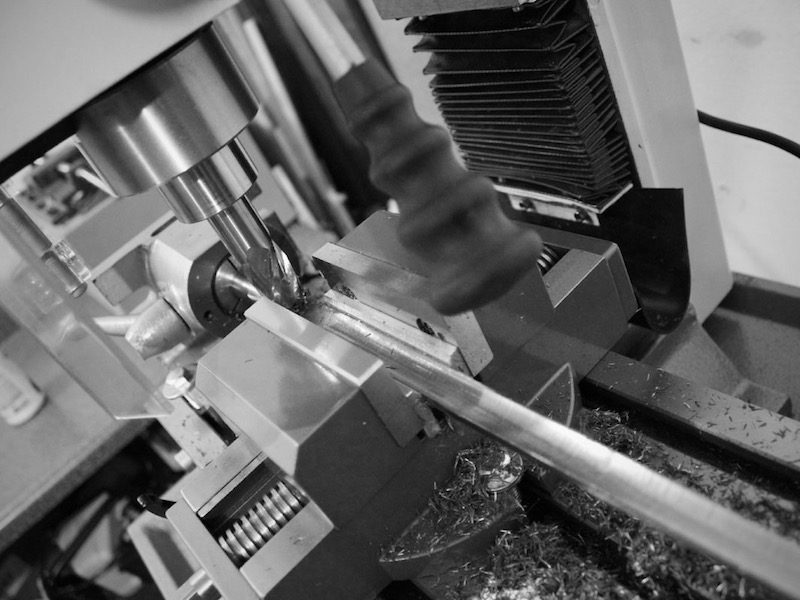
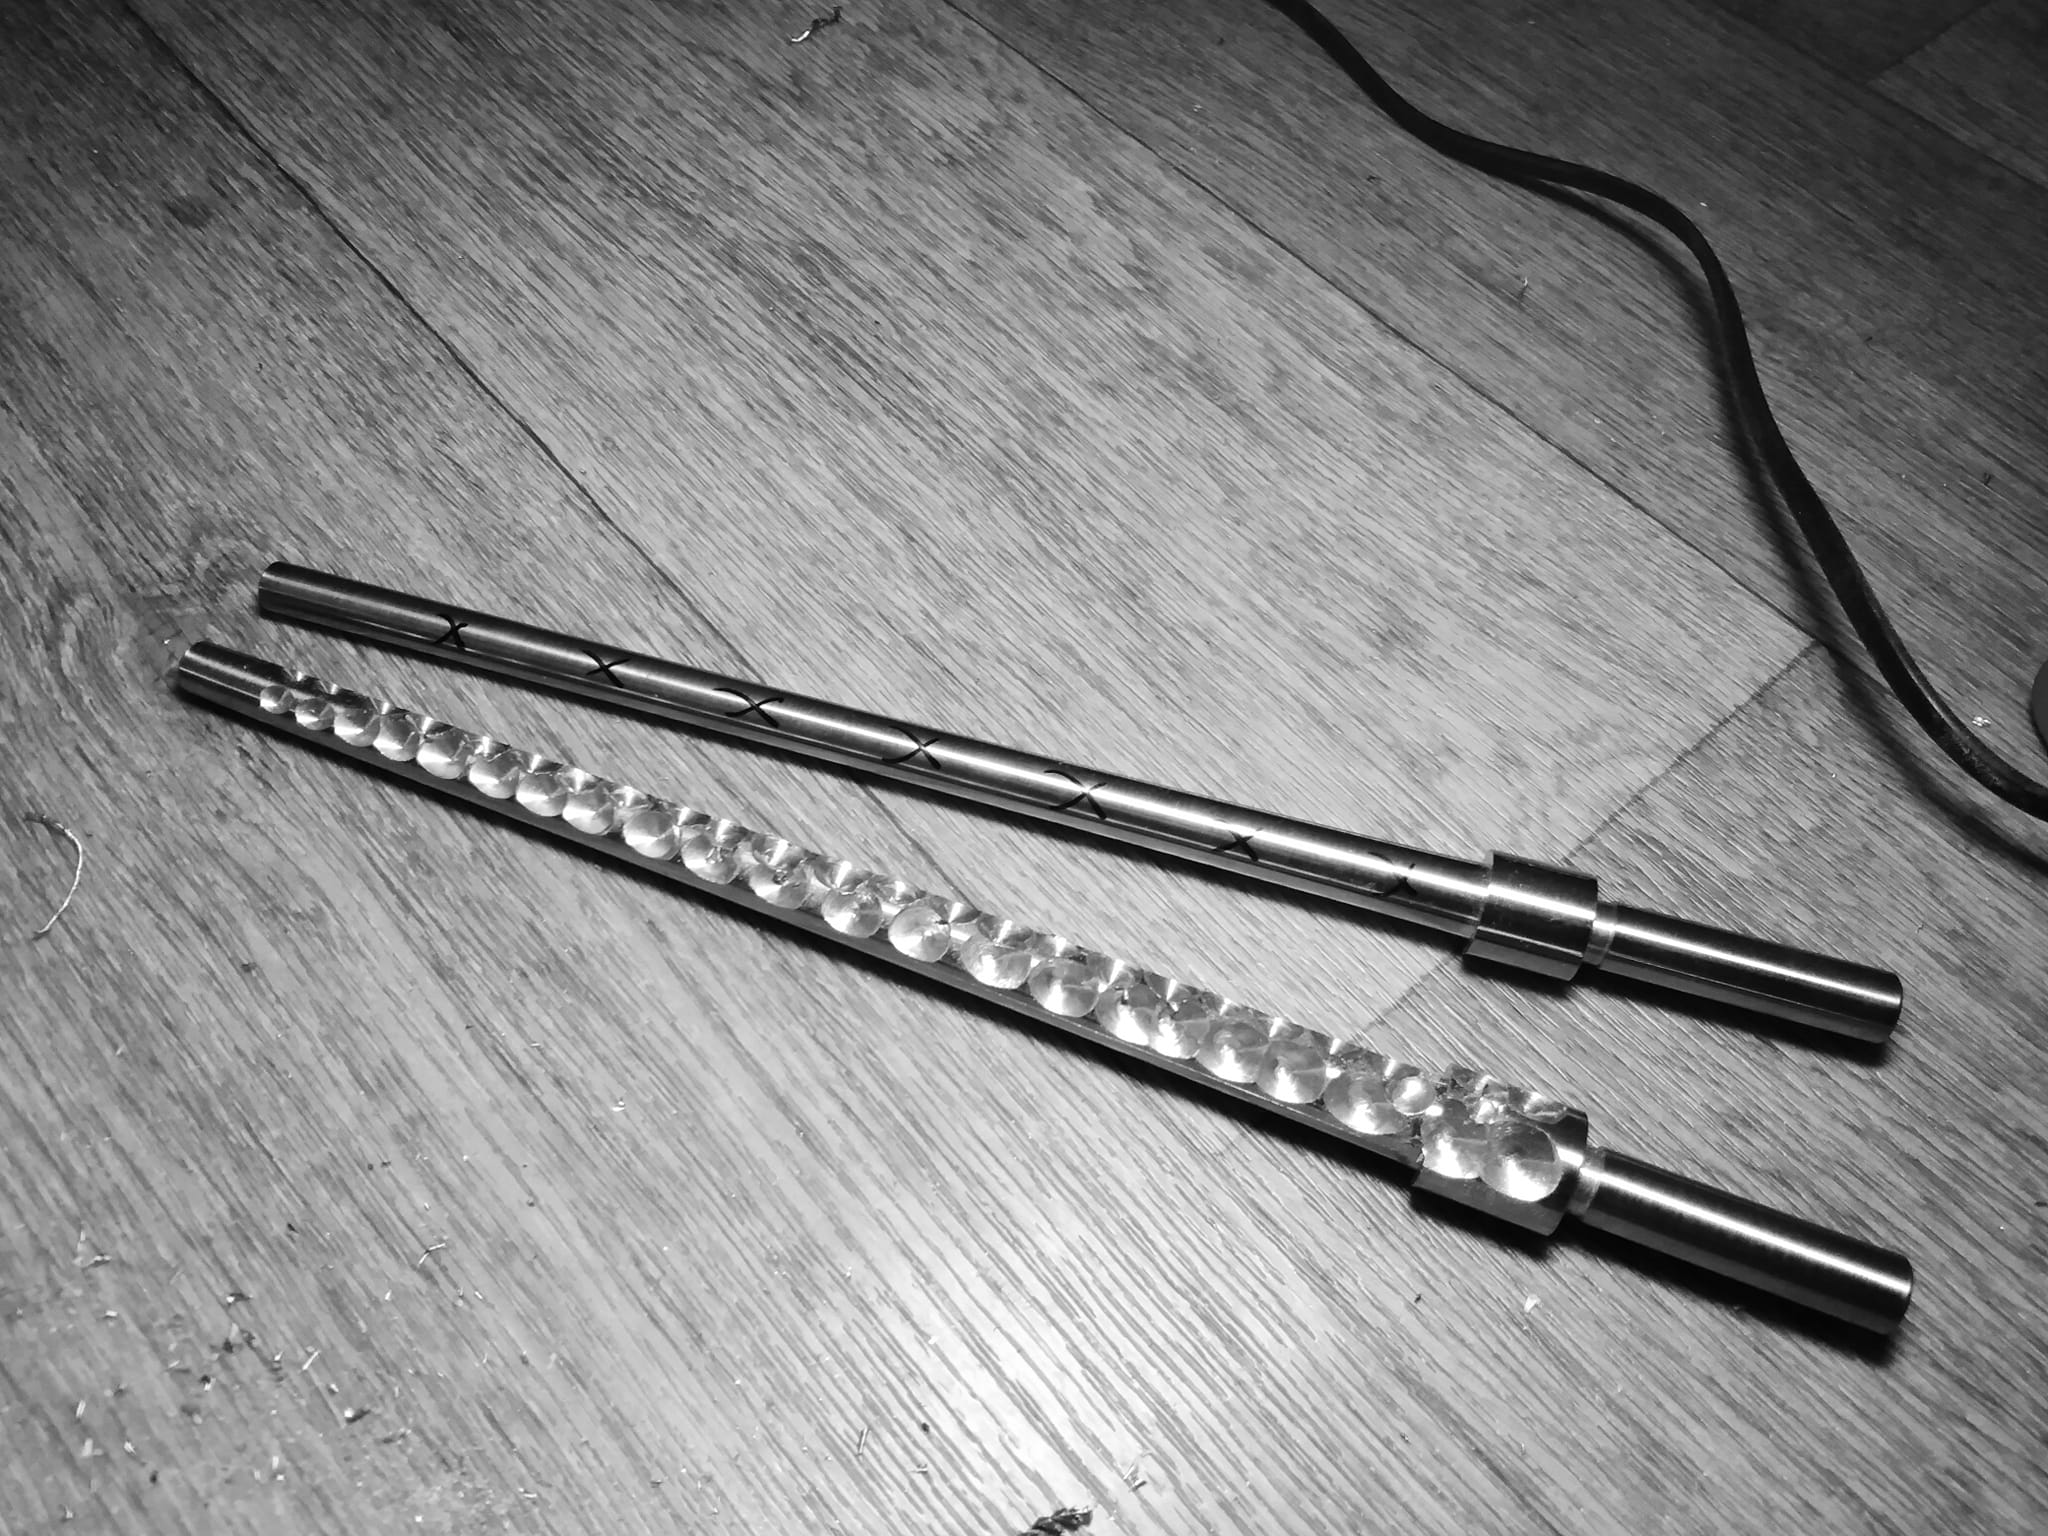
I agree that reaming is good, but of course we can’t realistically expect reaming to be used as a solution to smoothing the rough bore of a 3D printed flute. Its thin walls might not survive the pressure of reaming without cracking the flute, for one. With traditional approaches the thick walled billet is reamed before it is made into a flute. And besides, expecting the end user to make a reamer and then ream their 3D printed flute in order to deal with the rough bore would add such a massive overhead that it would negate most of the benefit of 3D printing the flute in the first place. But I know that isn’t what you are suggesting.

The issue really is more to do with how smooth the bore can be made in the printing itself, how much further smoothing is required afterwards, and can this be done within the tolerances required to avoid altering the shape of the bore. There may be an acceptable middle ground in which abrasives can be used to achieve a better level of smoothness without altering the bore profile too much, as is the case in traditional flute making, if you do it right.

But, of course, yes, the optimal situation would be to get the 3D printing to the level where end users can just print a smooth bore easily and consistently.

Eak, I made something similar for sanding, I think it works better with PLA than PETG. I’m not getting much grip with the sandpaper with PETG. I’ll be very intereted in your comparison tests

I do wonder if the best way to finish the bore of a 3D printed flute is to print it slightly under on the inner diameter, and then use your perfectly shapped reamers to knock the ridges off the surface, leaving exactly the bore profile you want. But then I wonder If you take this approach (and have the reamers) would there be any reason to print rather than make wooden flutes?
Paddler, thanks, I get your point. I guess it depends on the material and how agreesive you are. When I scrapped the inside of the bore on my PETG flute very little material came out the end, maybe a few grams in total, but it had a big impact on the sound. I think my printed surface looks something like ‘vvvvvvv‘ where the ridges are normal to the acoustic flow, so maybe knocking the ridges off gets you slightly closer to the designed bore diameter but more importantly reduces attenuation and shifts cut-off frequencies. One thing I noticed, if you scrape in an axial direction, you can hear the frequency of the scrapper passing the groves, until you’ve knocked them flat. You don’t get that feed back by any rotory process, so maybe there is a simple way check when you’ve gone far enough

The world I live in is far from perfect, but in my world, flutes play excellently right off the printer. I respect your opinion as a maker, but this approach is not for me. I consider sanding to be a “crutch” used by people who haven’t mastered printing.

I see many people looking for ways to coat the bore of a printed flute or to sand it down, when with Cura + Anycubic + PLA, excellent results are entirely achievable. I have also seen that some people use rather dull reamers, or reamers that are simply made incorrectly.

I transformed the reamer into something akin to a luthier’s scraper and I hope I have some understanding of how different tools work. I created a longitudinal groove, and then formed a slight burr on the cutting edges using a burnisher. When a reamer is crafted and sharpened in this manner, the resulting bore is exceptionally smooth, whether on pearwood, maple, or various polymers — which, during the reaming process, produce a continuous, film-like shaving.

I use the burnisher approach on my reamers too, Marat, and I know what you mean when you talk of the continuous film of wood. It’s a sheet, not dust. And the bore off the reamer is shiny, not dull or rough.

But what I found is that after playing for some time the shiny finish dulls, and no longer feels smooth. And that’s even after oiling. The moisture in the breath raises the grain. And the roughness reduces the vibrancy of the resonance.

So, rather than having players sending their flutes back for re-reaming, I sought a solution that could be applied BEFORE selling it. I ended up using steam to raise the grain, and then give it time to dry. Then lightly sand the bore, and polish it with fine steel wool. And then oil it.

And when I say lightly sand it, I mean just take off the roughened, raised grain surface. Don’t risk changing the bore profile.

After that process, I found that further playing didn’t raise the grain. So it’s not just a temporary effect.

My guess is that, no matter how sharp a reamer is, some of the wood fibres will be bent over, rather than cut off. Wet the bore later, and they will stand up again. Sand and polish the bore then, and they are gone forever.

Cabinet makers have long followed the same approach. Plane and scrape the top of the table smooth. Then wet it all over and leave to dry. The grain rises. Lightly sand it to take off the roughened surface. Then oil or varnish.

I guess an easy test would be to try it. Ream a bore, then wet it and see if it roughens. Steam is probably a more thorough test than just wetting.

Unfortunately, I suspect this approach won’t have relevance to 3D printed bores. Unless perhaps steam or hot water could soften the surface ridges? Hmmm….

You are absolutely right, Terry, and this is a technique used on wood beyond just flutes. Steam or boiling water to raise the grain, and then carefully removing the raised fibers. In the case of flutes, I would call this process grain-raising and de-whiskering, not sanding. I’m not certain about the English terms, but I believe we’re talking about the same thing: that this is not about fixing the aftermath of using a rough tool.

yeah, I think this is where vapour of a stronger chemical might come in, depending on the print material used you can disolve the ridges and get a very smooth ( and unlike sanding or scraping, also sealed) surface. I’m not currently printing in materials that will work for, but I’m intereted. You also get a stronger part potentially. Although I’m encouraged by Marat’s experience of flutes lasting years, I am still keen to make parts as strong as possilbe, and rather than sanding as a crutch, I would still like to investigate sacrificing some of the surface finish off the print for the sake of the best interlayer bonding I can get. I did do an experiement of copying a Rowsome chanter nearly 20 years ago in ABS (I cant remember the printer model now) and it still looks good, but that is a long way off proving we can make something that will last hundreds of years. I also respect Marat’s chosen direction of printing something with minimal post processing. My interest is in making the best flute possible with 3D printing. If we can do that without post processing I’m in!

1 Like

Agreed, Marat, not about cleaning up after a rough tool. Just dealing with the inevitable rise of grain after being submitted to moisture.

1 Like

I’d love to see a photo of this if you’d be willing to share. I make reamers as well, and what you are describing sounds like it would work well on ebonite, which does not ream well. Because it is rubber the reaming tends to leave micro-tears on the surface like tiny pock marks. I imagine that a very sharp edge would potentially reduce this.

In the photo of the reamer in one of the messages above, and in the photo of these reamers for bagpipes, you can see a longitudinal groove instead of a flat surface, as is commonly made. The reamers are made from tool steel, similar to what is used for chisels. I sharpen the cutting edges to a razor edge, and then I run a burnisher made of tungsten steel over them.

1 Like

Nicely done! Paddler make his reamers like that and I’m hoping to emulate this design for some of my own.

1 Like

My reamers have a very similar profile to those you have shown Marat, and they are made from tool steel too. And I sharpen them in the way you describe. In my own flute making, I use the reamers and then polish the bore almost exactly as Terry has described, raising the grain and then smoothing. Ideally, little to no material is removed. The following image was taken while I was making one of my own reamers, before sharpening, obviously, but you can see the profile and how I achieve it using a round nose mill bit on my milling machine.

I don’t do 3D printing. My comments about sanding are in response to the earlier discussion of people getting rough surfaces from their 3D prints and looking to sand them smoother. My point, which I think is mostly in agreement with your philosophy, is that you have to be very careful when you do that, because you risk changing the bore profile. And the bore profile is arguably more important than the surface smoothness.

One of the reasons that I was under the impression that there was still a large gap between the quality of flute that can be produced via traditional methods vs 3D printing was due to issues like this. How likely is it that (or how soon before) inexpensive, commodity, 3D printers will be able to achieve mirror smooth bores with little specialist knowledge or intervention required?

Good work. I made my reamers using a power drill, a bench grinder, a rotary tool, a piece of a round file, and sandpaper. To the regret of my fingers, I never got around to buying a metal milling machine.

1 Like

As the person who brought up the bore smoothness idea, I feel obliged to point out that I have no evidence smoothing the bore is going to help anything: it’s just the latest idea I want to try.

So far the most important factor in making the lower notes sound appears to be using a silk PLA, which (I think) means it’s had PTFE (aka teflon) added. One thing I have noticed about this material is that the stringy bits tend to shrink when cooled, so it’s very possible that my real problem is stringing.

If stringing is the issue I’m having, “cleaning the inner bore” wouldn’t be so much eliminating the ridges caused by layering as just correcting for sloppy printing. Marat, for months, has been telling me his prints came out just fine. Working on dialing in the print settings for the material might be a better use of my time than trying to ream an eccentric plastic bore.

Another thought I’ve had is that if the inner bore could be a lozenge (diamond) shape, and the outer part of the flute a hexagon, you could print the segments horizontally instead of vertically. If aligned right in the slicer, you’d wind up with layers that run the length of the inner bore, instead of the sort of pancake stack inside you get now. Unfortunately, this would require redesigning the entire instrument, which is pretty well beyond me at the moment.

It might be worth mentioning that I’m having tremendous success designing and 3D printing Uilleann pipe chanters and (low F through D) whistle bodies! I’ve also re-implemented Marat’s piccolo, and it’s playing well. The standard transverse flute is just a cantankerous instrument, it seems :slight_smile:

Interesting that you’ve had better results with silk PLA. I haven’t used silk much because I’ve heard it’s weaker than other plastics and standard PLA is already to brittle for me. For what it’s worth I hear a difference between a PLA and a PETG flute, PLA being a bit brighter and more reedy to my ears. This could be a difference between the materials, this could be normal variance between instruments, or it could just be a placebo. I haven’t tested with enough controls to know. Although I have a theory that stiffer materials will lead to brighter, louder flutes though since less energy will be absorbed by the body of the flute. This might be why you like the silk PLA, I believe it is stiffer than normal PLA.

I agree that dialing in your print settings would be worth the time before designing a new tool. I’ve dealt with stringing with PETG and a lighter has been my favorite tool for removing stringing.

Are you designing a flute with a tapered bore?

I’ve had a similar thought about printing flutes horizontal too. My opinion is that layer lines are not really an issue. Layer lines are invisible on well tuned print with a low layer height, on the vertical walls at least. Low angles will still show some lines but that’s not an issue for a flute bore, tapered or cylindrical. The biggest benefit in printing horizontal for me is strength, objects are weakest along the layer lines and a flute is long enough it runs the risk of snapping if you swing it around like a sword (which any respectable flute needs to be able to do). Horizontal printing would also allow for any shape fingerhole without printing a hole in a vertical wall.

I agree with most of this. I was wondering about laminating some strips of horizontal prints into slots in the vertically printed structure to get the best of both worlds. Might be more challenging to make the flute look good, but I really need to be able to wield it like a sword during the bodhran solo

1 Like

I’m back and getting back into printing, and have just finished printing a new Axianov flute for @Terry_McGee in PLA with 0.1mm layers, 100% fill, and the weight of all the parts combined came in at 218g (no tenon thread yet). So I’d say I’m in the right ball park (I believe there is some variation in PLA density).

This is a Cura file with settings that will help you print flutes with high quality.

https://drive.proton.me/urls/TZ0Q2DWKP8#CslSaIpFTTuH