I’ll introduce myself to the chat. I’m the chap from Sydney who printed the flute for Terry. I printed this one in a PLA with cherry wood added. As I’m currently travelling away from my computer I can’t double check the print settings for a month. But I’llclarify what i can.
I typically print 100% fill, 10 layers on the wall, concentric fill. If i didnt do that for Terry’s flute it was by mistake (Certainly possible I bumped a setting). I printed another Axianov flute in PLA before leaving and it played quiet well straight off the printer. And with some plumbing tape on the tenons and light sanding the outside of the finger holes I thought it played very well. I found quite a lot of turbulent sound with the stopper maze and it sounded cleaner when I blocked the slot.
I printed another flute of my own design in exactly the same material and have since gifted it to a player who messaged to say she is playing it and the second octave sounds sweat, the low notes sound beautiful and the instrument posses both a solid sound and a soft sound, a beautiful instrument you would never guess was made by printing.
So, I’m left knowing it is possible to make the material work for flutes, and the Axianov design is good. Terry has managed the leak. It sounds like the weight is low. Maybe I bumped the infill setting, maybe there was a partial blockage in the printer head that dropped the density. Maybe for whatever reason the surface finish came out particularly badly on the bore. I’ve made many 3d printed fluted and haven’t typically had issues getting low notes to sound, even with 30% fill. I’ll be able to answer some more questions when I finish this trip, and print another flute for Terry if we can get this one working in the meantime.
The flute was designed for the “Irish” embouchure style, where you blow into the instrument. If a musician blows across it (“past it”), it creates excess turbulence. This design helps beginners understand how to produce a better sound.
Thanks Marat, so it sounds likely the flute was playing well, and I was playing it wrong for the style of flute it is. I didnt get a lot of time with it, but I enjoyed thinking about the various innovations I recognised in the design. I’ve also enjoyed chatting with Terry about them, who has been helping me enormously in understand understanding my own designs and methods. It’s nice to see this all being connected on this thread.
I also wonder if PLA+Wood is a good material. I’ve had the best results with shiny Silk PLA in the dozen or so flutes I’ve made. My guess is that this is giving me the smoothest inner bore, but I really don’t understand enough yet.
However, if my guess is right, then it occurs to me that tossing bits of wood into the filament seems like it would make for quite a rough inner bore. This could explain why lower notes aren’t sounding well.
That’s really interesting, I’ve only used orca and bambu studio but I looked around and couldn’t find a similar setting. I downloaded cura to check it out but haven’t gotten into it much. Do you know the name of the setting?
Have you compared it to normal PLA or petg? When I use glass or carbon fiber filled materials the surface ends up very rough, I’m wondering if your wood filled is the same.
You might be right about the wood and surfaceroughness. I’ve also printed in silk PLA , ‘standard’ PLA, PETG, and i havent noticed much trend, i thought they sound and/or feel different, but no clear winner, and haven’t had troubles with low noted with any of them typically. Ive mostly failed attempts in ABS and ASA which are also less pleasant to print with fumes. My current preference has been PETG at slow speed and high temp, ~250 - 255 deg, printing one part at a time. Its a bit more dense than PLA and with these settings gives you a very robust part with good welding between the layers, but not the best surface. It’s a pain to finish (i think PLA with wood sands much better and i will experiment), especially inside the bore. I’m experimenting with all of sanding, scraping, filling, oiling, painting. And considering chemical polishing and rock tumbling, which might not be best suited to petg.
I should add i typically choose layer height of 0.2 which doesn’t give the best surface but i think dramatically improves the part strength, which is very important to me. I really dont want flutes breaking easily
For me, 0.2 mm is too much. I believe it’s better to print the bore with high quality and avoid sanding it altogether, even if it increases the print time. I’ve seen people playing PLA flutes printed with a 0.1 mm layer height for about three years now, and the flutes are in perfect condition—nothing has broken. I had concerns about the barrel’s strength, so for reinforcement, I added decorative lines that don’t visually thicken the barrel but make it structurally stronger.
Thanks Marat, I will revisit this. I dont disagree with you. Most of my experiments with layer height were with PETG, and with the other settings i didnt notice much difference between 0.1 and 0.2 other than part strength. And maybe my testing was more extreme than we should expect of a musical instrument, but i like to see parts survive being droppedfrom 1m.
I have currently only experimented with scraping the bore smooth(er) on one flute, printed at 0.2, and it made a really dramatic difference after a few minutes of scraping. A much louder/less lossy flute than anything i have printed at 0.1 (and not finished). This experiment certainly confirmed what Terry suggested to me, and everyone in this thread seems to agree, that bore surface finish is a critical parameter for 3D printed flute. So, I’m now thinking about what a good scraping tool would look like. Something better than the old generation whistle I currently have with me.
By the way, good idea with the barrel. I hadn’t realised the purpose of the decorations.
If bore smoothness is paramount, how feasible would a print made of ABS be, as the bore could be fumed with acetone to smooth it? I know you mentioned some difficulties with the material, but could the potential benefit outweigh that?
I’ve not got much experience with chemical smoothing but I’ve seen some good looking results on prints of other things and I think you are right that it could be a good way to get a smooth finish. Maybe combined with course sanding or similar first?
I’m eagerly looking forward to the post where you tell everyone what you came up with for the bore finishing tool. So far, all I have determined is that a rifle cleaning kit on a drill is next to useless.
I won’t get a chance to try anything for next few weeks but will report back when I do. If you’ve got something that resembles a tin whistle tube id be imterest to hear if anyone else gets a step up in sound from scraping the end back and fourth on the bore. Of course be careful not to catch on the inside of the tone holes
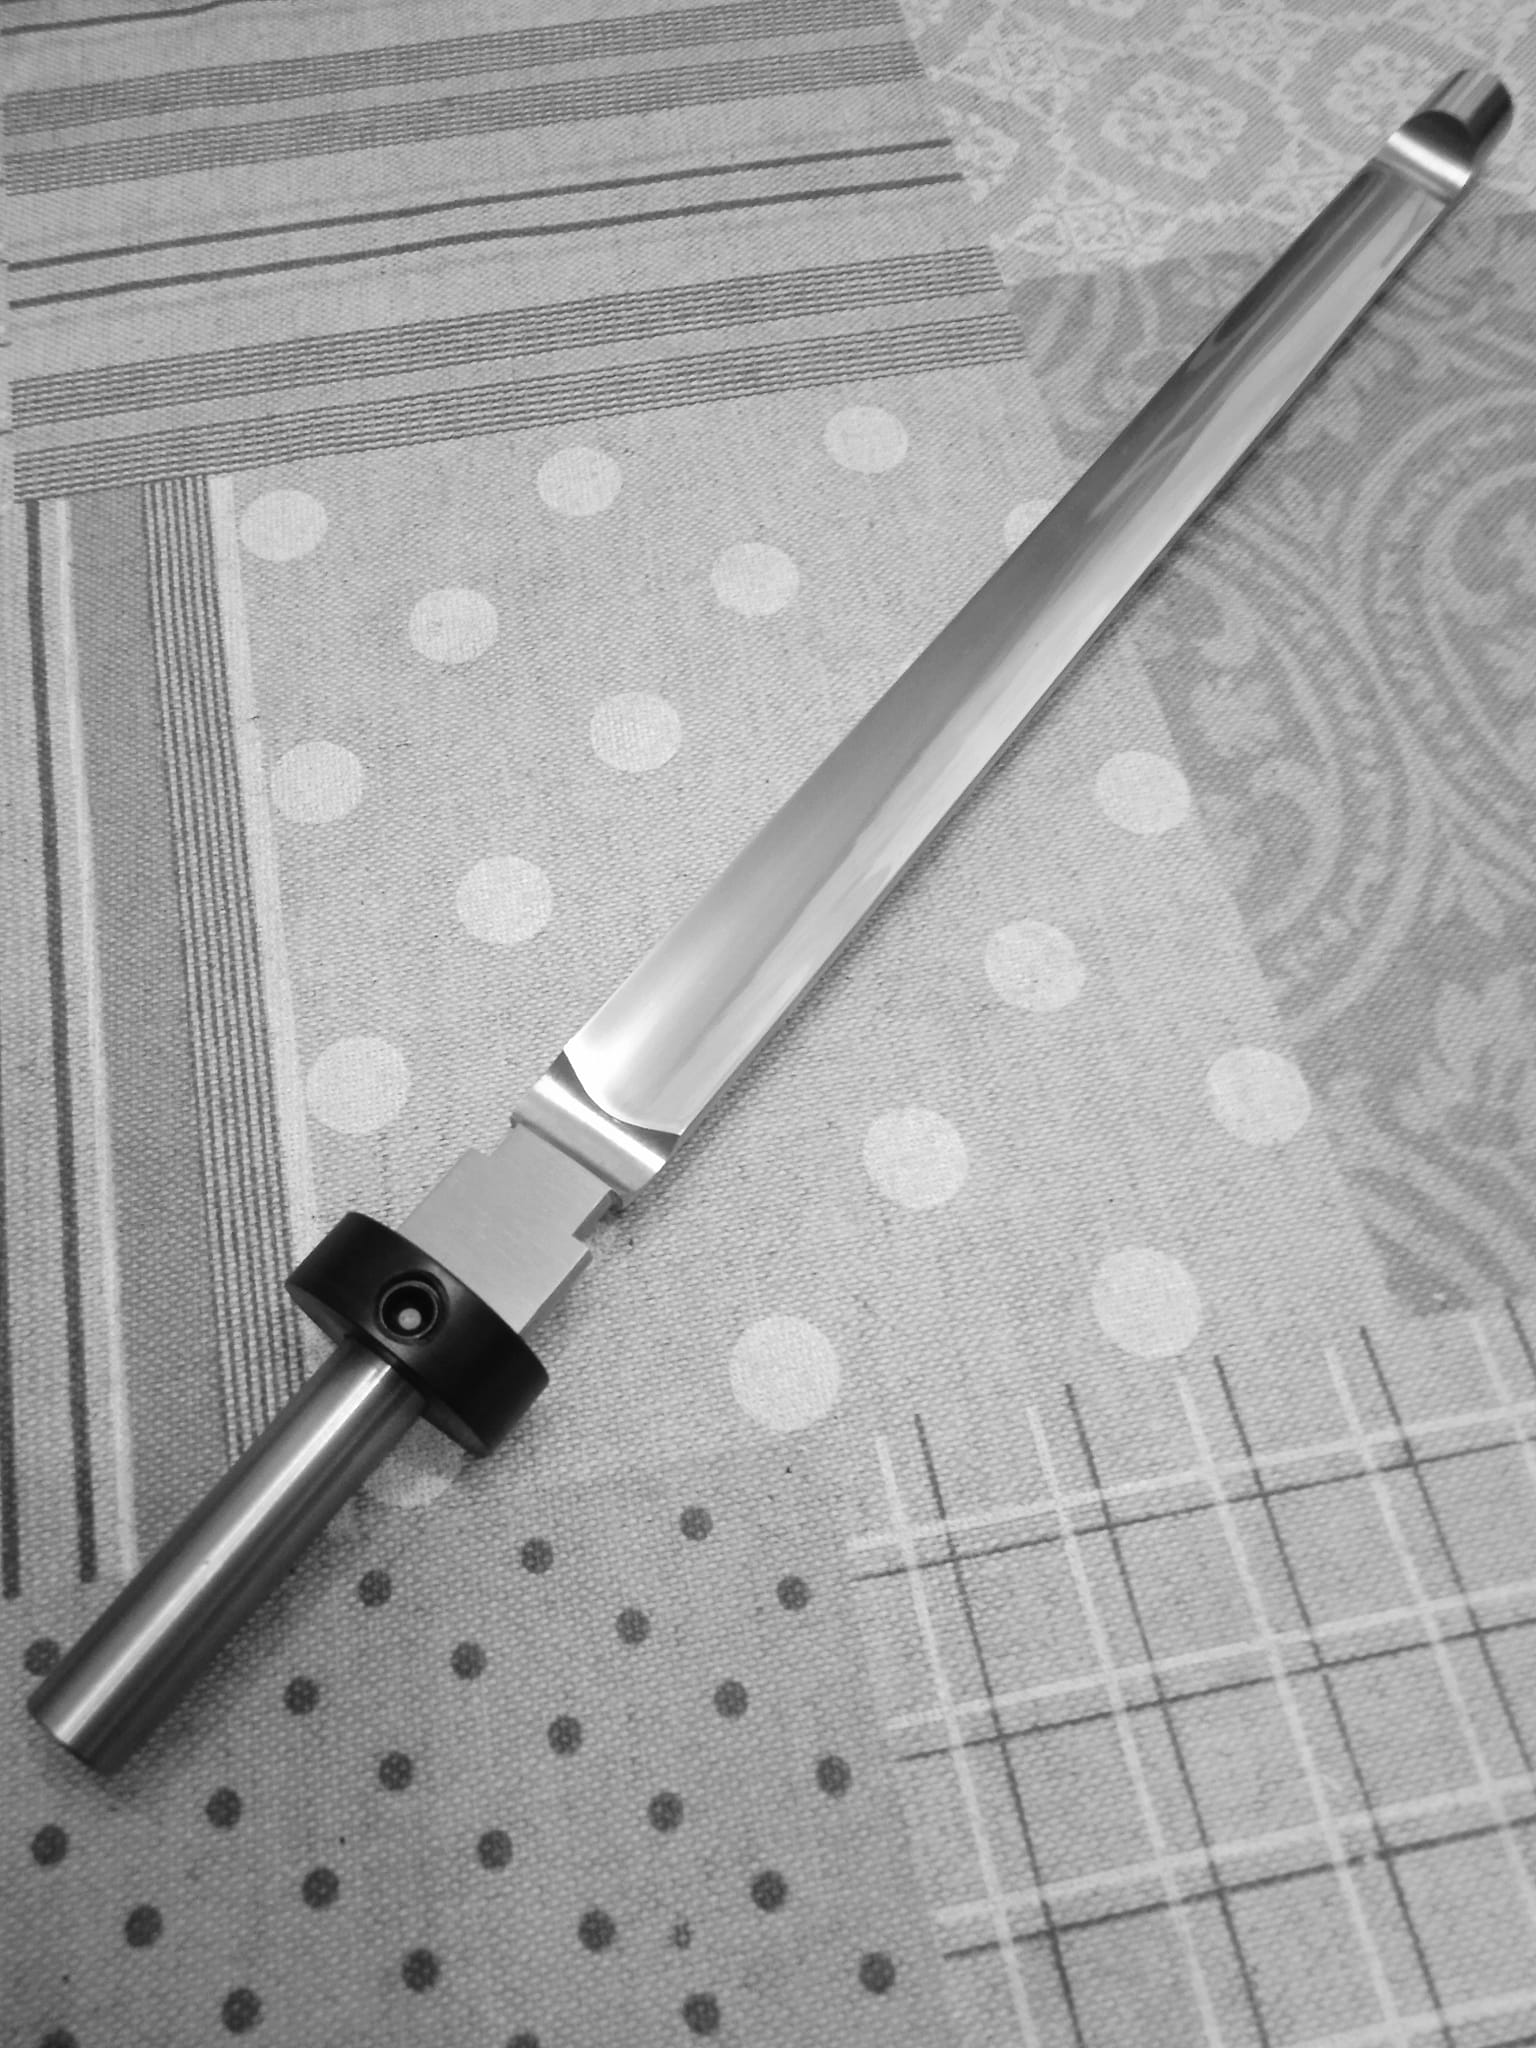
I designed and printed two simple rods that fit into a drill for sanding and polishing the bores of my flutes. One is for sandpaper, the other for strips of leather and fabric for polishing. I have considered designing something to spin the body of the flute instead of the rod but this was a really quick solution.
Polishing the bores of a flute works very well. I will film a test comparing polished vs. unpolished bores on my flute if there’s real interest in it.
I had the same thought about acetone smoothing ASA or ABS for a flute too. I have had ok results smoothing other objects but I worry about warping and melting during the process. I’ll be testing that somewhere down the line too and I’ll report back. Won’t be for a while though. I have also been told acetone smoothed parts will be toxic until fully dried which can be about a week, but I haven’t looked into that further.
I just want to add a little perspective on bore polishing from the perspective of a flute maker who uses conventional methods. I hope this is useful to you 3D printing flute makers.
So I agree that a smooth bore is important, but based on my own experiences, I can say, with high confidence, that bore profile is even more important. A poor bore profile will never sound good no matter how smooth you make the surface. In contrast, a really good bore profile can sound phenomenal even if the surface is not polished smooth, as might be the case when it has been reamed but not sanded at all.
The reason this is significant is that if you have to use coarse abrasives to smooth a rough bore, you can easily end up changing the bore profile in a detrimental way. The creates an inherent conflict between smoothing the surface and maintaining a good profile.
When you use a straight sided rod to hold sand paper you end up localizing the abrasion on the high points of the bore profile, and eroding the narrow parts of the bore more than the wide parts, hence changing its shape and acoustic properties.
I wonder if 3D printing might actually offer a solution to this problem. If you can print a conical rod that is an inverse of your bore, you could maybe mount a surface abrasive on it and then use that to uniformly smooth the surface of the bore without changing its profile. To work well, it would probably require some allowance to be built in to the dimensions of the rod to allow for the thickness of the abrasive layer.
I would like to have some such rods for smoothing the bores of my own flutes, but to make them using conventional methods would require a similar amount of work to making a reamer. And that is a lot!
I’ve only made cylindrical bore flutes so far so I haven’t had issues with changes in the bore profile. That might change soon though. What is your level of tolerance for creating an accurate bore?
I think your idea for making a rod for smoothing a detailed profile is possible. I’ve made a sanding blocks, rotary attachments, and heads for other sanders that are perfectly profiled to both sides of my mouthpiece. When my design gets settled I have plans for a jig to finish the mouthpiece and bore even more more consistently.
Well, for my own flutes, if I want to create a replica of an existing flute, such as a Rudall & Rose, I’ll take around 50 measurements equally spaced along the length of the bore, use those to make a reamer, and then use that reamer to cut a new bore, and I try to be within about 0.1 mm at any point on the new bore compared to the old one.
That level of tolerance seems to get the job done in terms of reproducing the acoustics and tonal coloring I’m looking for, but its difficult to say how far you can stray before losing something important. That depends on where in the bore the differences occur, what characteristics you care about, and how sensitive / picky you are.
I will say, though, that I have ruined prototype flutes, acoustically, by inserting a reamer a few mm too far into a billet, and by being overly aggressive with sanding/smoothing in the finishing stages of a flute that was good to start with.
Based on my experience making flutes the traditional way, a channel properly finished with a well-made reamer has a mirror-like surface and requires no sanding at all. Working with wood may require multiple passes with the reamer, but never sanding. Perhaps my aversion to sanding developed after years of restoring bowed instruments, where we always strive to cut and plane, not sand. But I firmly believe that the acoustically critical surfaces of wind instruments should never be sanded. The goal is to prepare a tool — be it a 3D printer or a reamer — will create a perfect surface from the start.